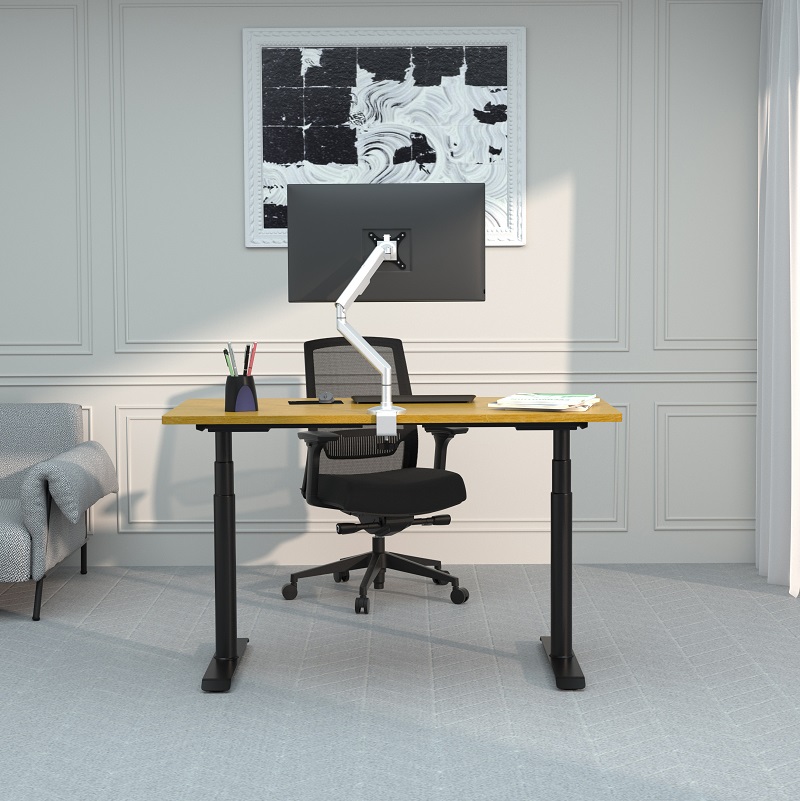
In the age of information, people stare at a monitor, knocking a keyboard, bending/humping over desk work with long hours, the cervical vertebra disease is extremely widespread. Don’t worry. You can get away with a simple monitor arm on your existing fixed-height desk.
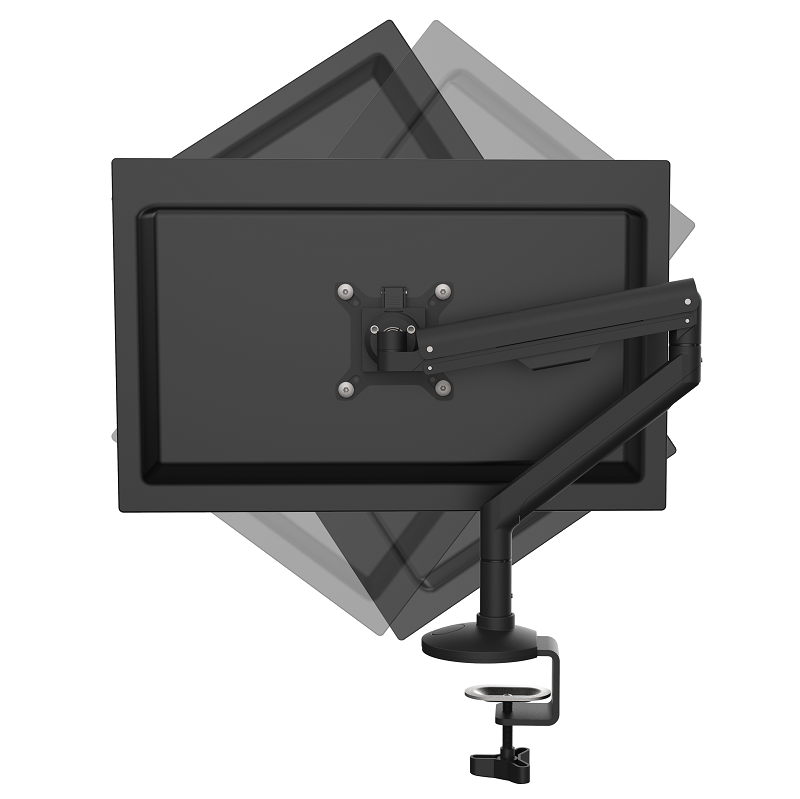
An adjustable monitor arm supports your computer monitor or laptop with clamps or grommets, raising it to an ergonomic height. It offers much more flexibility than a basic monitor stand, allowing you to adjust your screen with precision. As well as varying the height you can move your screen forwards and backward, tilt it, and even rotate it to portrait position, adjusting viewing angles and creating a more personalized experience that can potentially reduce any neck and eye strain from staring at your monitor all day. Optimizing your monitor position to suit your body and working situation, greatly improves your fitness and productivity. Mounting your computer monitor can also help to clear up desk space, provide a sleeker look for your workstation, and better fit your office into a small space, creating an ideal living and working space.

How to Mount Your Monitor?
There are four mounting options for your monitor that can change the usability and the mounting process. In order to use any third-party monitor mounts, your monitor should be VESA compatible. To tell if your monitor can be mounted, look for mounting holes drilled into the back of your monitor, usually in its steel frame. Sometimes these holes are hidden behind the existing stand. Remove the stand or simply look up the VESA compatibility of your monitor online.
Read on to learn how you can mount your monitor.
STEP 1: Identify Your Base Mount And Follow Corresponding Instructions
Freestanding Mount
- Position unit in desired location on work surface.
- Secure using four screws and washers.
Clamp Mount
- Remove bottom assembly from base by loosening screws with hex key.
- Place vertical assembly on base. Make sure the external tube is loosely secured by lining up cut-out with guide inside base.
- Use M12 screw and hex key to secure the vertical assembly to the base. Make sure the screw face is flush with the underside of the base.
- Position base at desk edge.
- From under desk, reattach bottom assembly. Tighten screws and clamp disk screws with hex key to secure. (Try not to go overboard. Clamping too tight can potentially cause damage to your desk. )
Grommet Mount
- Separate the grommet mount assembly (bracket, mounting screws and backing plate) from the M4 pole assembly by loosening the pinch screws and sliding it off the end of the pole. Leave the plastic cover on the pole.
- Remove lower plate from grommet assembly by removing the mounting screws. Remove backing from adhesive tape and place lower plate on underside of work surface, concentric with grommet hole.
- Position upper mount into grommet hole.
- Determine which of the available mounting holes are needed for the specific grommet hole. Determine by using the hole style indicator which is next to each hole.
- Align mounting screws with holes in lower plate. Snug screws to table but do not tighten.
- Insert vertical assembly (pole) into mount and tighten pinch screws with pole at desired height.
- Fully tighten screws that hold base to desk.
- Lower plastic cover down to cover upper mount.
Wall Mount
- Determine mounting location taking into consideration display size and PDR’s range of movement.
- Using a stud sensor locate two wood studs 16”apart on center.
- Place and level mount against wall, aligning mounting holes in upper and lower wall channels with studs.
- Mark four mounting holes making sure mounting holes are located as close as possible to center of studs.
- Drill four pilot holes where the mounting holes were marked.
- Partially install two lag bolts into upper pilot holes. Do not tighten at this time.
- Align mounting holes in upper wall channel with lag bolts, and hang mount on lag bolts.
- Adjust mount lateral position left until lag bolts are seated in mounting slots in upper wall channel.
- Place two installation washers over two lag bolts.
- Install two lag bolts through mounting holes in lower wall channel and into pilot holes.
- Place two installation washers over two lag bolts.
- Tighten all hardware. Do not over tighten!

STEP 2: Attach Monitor Arm to Mounting Post
Top Mount
Align groove in Arm Post with Screw-on Mounting Post and slide Arm Post into Mounting Post. Secure with a screw.
Bracket Mount
Place bracket on Mounting Post. Tighten the knob to secure at the desired height.
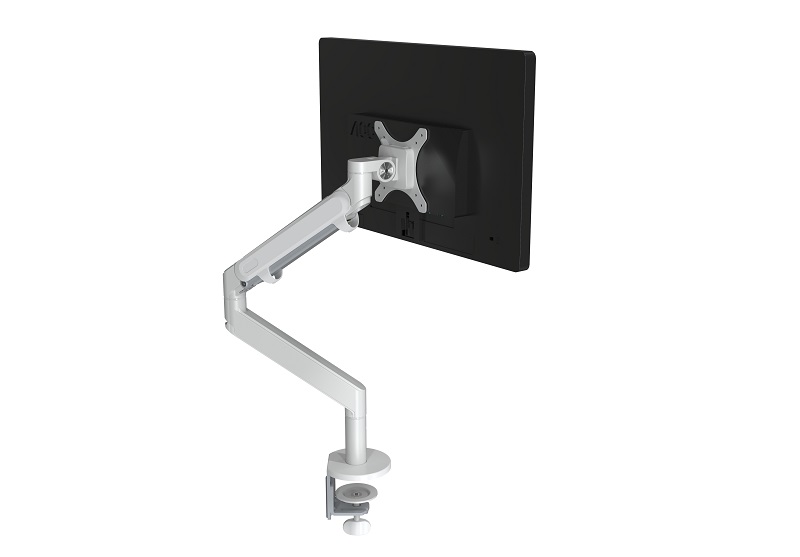
STEP 3: Attach VESA Bracket To Monitor
- Select 75mm or 100mm VESA Bracket to match hole pattern on back of monitor.
- Place VESA Bracket in position on back of monitor with cut-out toward top of monitor and attach using screws provided. For this, you may also use screws that came with your monitor.
STEP 4: Attach Monitor to Monitor Arm
- Place cut-out on VESA Bracket over Lip at end of Arm. If your arm is equipped with a Quick-Release Lever, simply push bottom of monitor into Arm until you hear a click. To remove, depress Quick Release Lever and remove monitor from Arm.
- If your Arm is not equipped with a Quick Release Lever, secure monitor to Arm using screws.
Cable Management
The M4 includes cable management clips for the arm(s) and for the pole to keep monitor cables neat and protected. Route the monitor and power cables through clips. Screw and clip must be removed to attach cables to the single monitor arm or dual screen monitor arm. The clip for the pole must be opened and slipped over the pole and then secured with the supplied screw to the desired height as indicated.
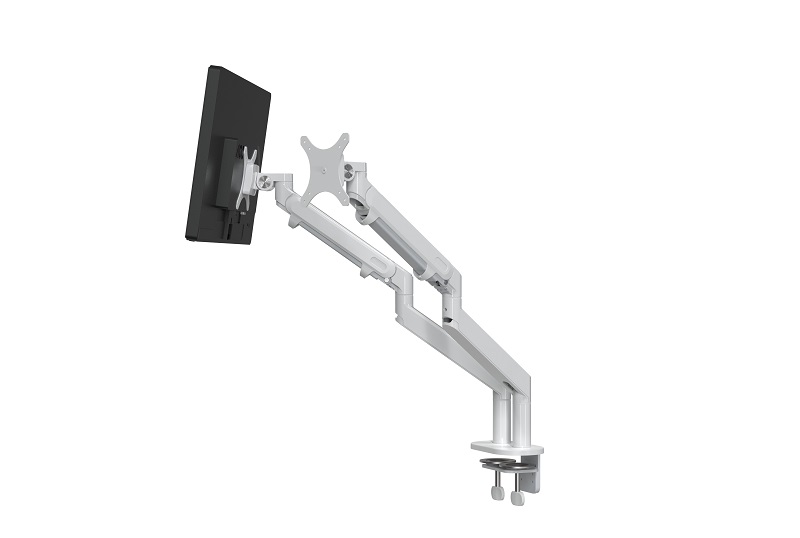
Friction Adjustments
If desired, friction on the Ball Joint may be increased. This can be achieved by tightening the Ball Joint Friction Screws.
Monitor Weight Adjustment
Adjust the Tension Screw to properly counterbalance the weight of your monitor.
- Adjust the monitor arm into its lowest position.
- Turn the Tension Screw clockwise to decrease tension (for lighter monitors) or counter-clockwise to increase tension (for heavier monitors). Monitor should not exceed 20 lbs. The monitor is properly counterbalanced when it can be easily adjusted into any position without moving upward or downward unassisted.
Select Your Mounting Type
So far we’ve covered how to mount your monitor. Now let’s look at the pros and cons of each of the four different monitor mounting types.
Freestanding Monitor Mount
Freestanding mounts – Freestanding mounts are the most versatile and easy to set up, essentially acting as a replacement for your usual monitor stand. Only needing to be set on your desk or other work surfaces, no drilling or other complicated installation procedures are needed, without any screws or clamps, there isn’t anything stabilizing these mounts to your desk aside from their own weight. It means your monitor can move around your workspace as needed.
This simplicity and versatility come at the price of stability and space efficiency though. Because the stand is not attached to anything, it can be moved accidentally or even knocked over if not careful. This is instability mitigated by having the bases be large and weighty, but that means less desk space for you.
Clamp Monitor Arm
Clamp mounts – Clamp mounts are a great balance between simplicity and stability. Like the freestanding base, it doesn’t require any drilling or stud-finding, just clamp to the edge of your desk, secure the mount’s pole or riser with a sturdy clamp and you’re ready to go. Although being clamped down means you can’t easily move your monitor from place to place, for most desk setups that work just fine. This mounting type significantly clears up your desk space while providing all the customization and adjustability of a freestanding mount.
The clamp design means the stand has to be placed on the edge of the work surface, which might not work for all desk types. The modern computer desk or task desk will work fine, but older, boxy desks generally lack the edge required for these mounts.
Both the clamp mounts and freestanding base options are great if you’re using a space you can’t modify permanently, like a temporary office or rented space.
Grommet Monitor Arm
Grommet mounts –Grommet mounts carry all the same advantages and disadvantages as the clamp mounts, the only difference being that they require a pre-drilled hole in the work surface you want to mount it to or use an existing hole (like the cable management grommets found in some office desks). This semi-permanent mounting via grommet holes adds a little extra stability to the stand.
This may limit your options, but grommet mounts allow you the highest weight capacity while still minimizing desk clutter. If you have multiple monitors, grommet mounts might be the way to go.
Both clamp and grommet mounts offer a good balance between space efficiency and stability.
Wall Monitor Mount
Wall mounts are extremely stable and save a lot of space, completely doing away with desk clutter, but they’re a bit more difficult to install, and a pain to move if necessary. These mounts do require finding studs and drilling into your walls, which isn’t always feasible in rental properties and offices. You may not even have a wall near your desk, therefore wall mounts are the least versatile.
If you need to use the monitor where you don’t have a workbench in front or are just extremely committed to a specific desktop setup, and the efficiency it offers is worth the lack of versatility, a wall mount is great.
Now that you know the different solutions that are out there, you can go find the one that works best for you!
Whichever monitor mount you choose, remember:
Make sure the weight and dimensions of your monitor are compatible with the stand.
Make sure to choose the mounting type that works best for your desk space and workflow.
Learn More About Monitor Mounts
As a professional monitor arm manufacturer and supplier, since 2012, Aoke has designed and manufactured ergonomic workspace solutions with a wide range of applications for global companies, providing a comfortable and healthy working environment for offices and homes.
If you’d like to learn more about our premium monitor mounts or other products, visit our website or follow us on our social media pages.